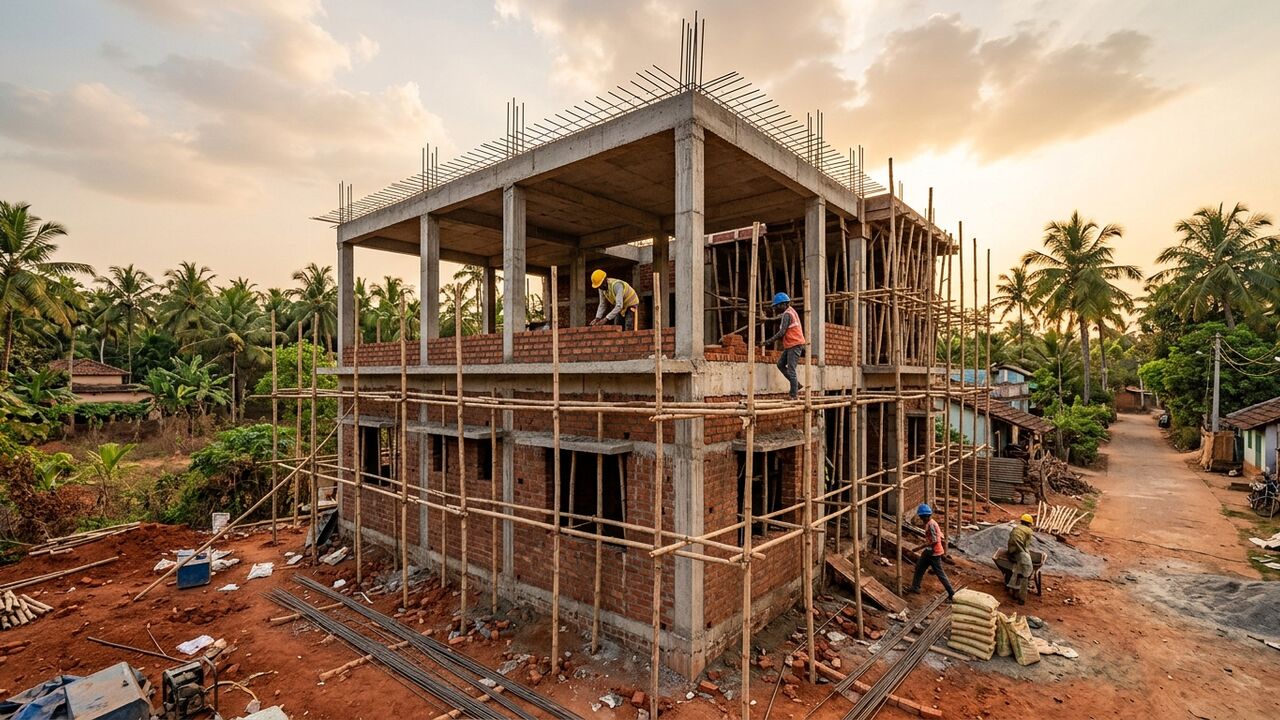
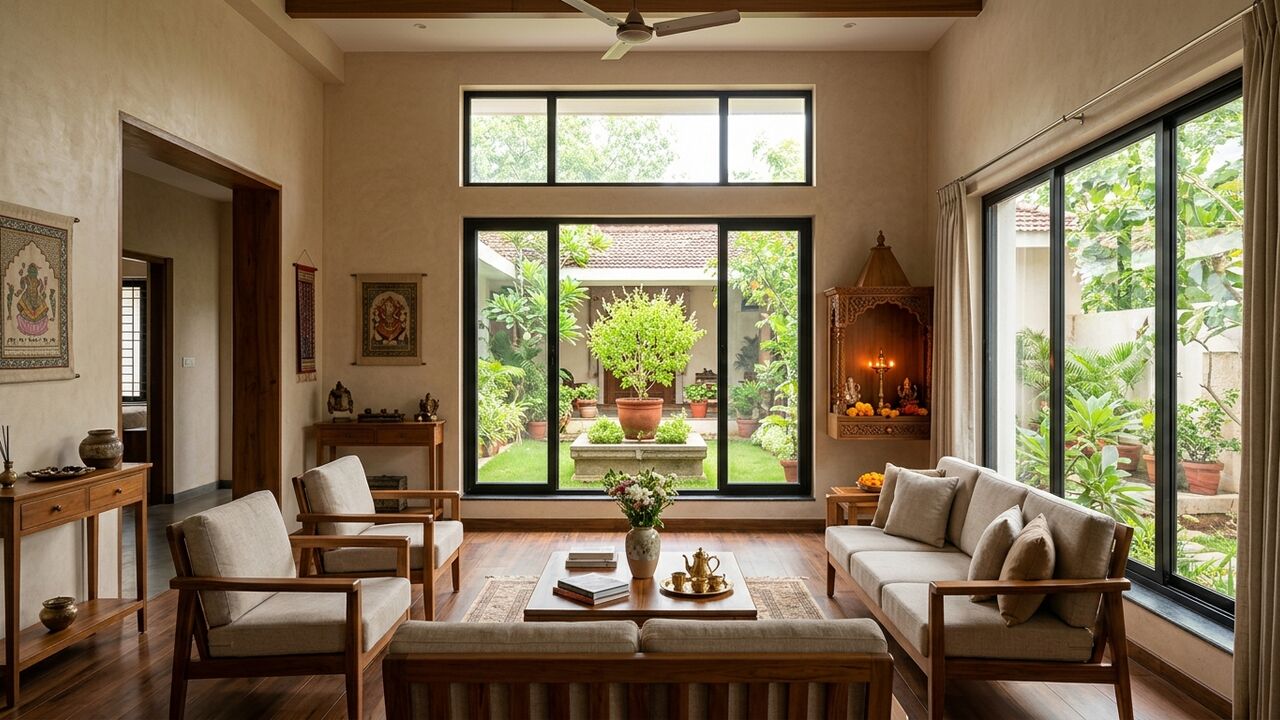
A house in Odisha is built in the same broad sequence as anywhere in India, but the details that decide whether it lasts are local: what sits under the plinth, how the slab is cured in a 41°C May, and whether the roof is cast before or after the June rains. This is the sequence we follow on MoGhara sites, with the checkpoints we refuse to skip.
Stage 1: Know the ground before you draw the house
The first thing we do on a new plot is not sketch an elevation; it is dig. A geotechnical test with two boreholes to 3–6 m tells us the safe bearing capacity, the water table and whether the soil swells. On the coast between Puri, Jajpur and Balasore the water table can sit within a metre of the surface in September. Inland around Sambalpur and Bolangir we regularly hit black cotton soil that cracks in April and heaves in August.
What the soil test decides
- Foundation type and depth (see Stage 4)
- Plinth height and whether the plot needs filling
- Whether the septic tank or sump needs special lining
- Anti-termite treatment strategy
Alongside the soil test we do a total-station survey of the plot: boundaries, road level, nearest drain invert level and any high-tension line. Half of all setback surprises in Odisha come from a plot that is smaller on the ground than on the RoR paper.
Stage 2: Plan, structure and approvals
With the ground understood, the architect and family sit together. We ask about who lives in the house today and in fifteen years, where the tulsi chaura and pooja will sit, whether a floor might be rented out, and where the car and two scooters park. This becomes the floor plan, then the structural drawings, then the electrical and plumbing layouts.
Only then do we submit for approval. In Bhubaneswar (BDA), Cuttack (CDA) and most municipalities the application goes through the SUJOG online portal with the drawings signed by a licensed technical person. Timelines vary from a few weeks to a couple of months depending on plot size and completeness of documents; our plan approval guide covers the paperwork. Do not let anyone start excavation before the approval letter is in hand: a stop-work notice mid-foundation costs far more than the waiting.
Stage 3: Site setup, layout and excavation
Before the JCB arrives we mark the plot with lime and string against the approved plan, set a permanent benchmark for levels (usually a road-side reference), and arrange water and a temporary power connection. A 2,000 sq ft house drinks roughly 40,000–60,000 litres of water through curing; in summer a temporary borewell is often cheaper than tankers.
Excavation follows the structural drawing, not the mason's habit. We check the pit bottom against the soil report: if the ground at founding depth looks different from what the boreholes promised, we stop and call the structural engineer rather than pour and hope.
Stage 4: Choosing the right foundation for Odisha soils
| Soil condition | Where it is common | Foundation we typically use | Special care |
|---|---|---|---|
| Sandy or silty coastal soil, high water table | Puri, Konark, Paradip, parts of Balasore and Jajpur | Isolated footings at 1.5–2 m with a plinth beam; raft slab if bearing capacity is very low | Dewatering during pours, 50 mm cover to steel, sulphate-resistant or PPC cement, waterproof plinth beam |
| Laterite (hard murrum) | Cuttack fringes, Keonjhar, Mayurbhanj, Koraput plateau | Shallow isolated footings; sometimes stepped laterite stone masonry footings for economy | Check for soft pockets and cavities; laterite can be deceptively hard on top and weak below |
| Black cotton (expansive clay) | Sambalpur, Bargarh, Bolangir, Sonepur, parts of Kalahandi | Under-reamed piles 3–4 m deep with grade beams, or footings taken below the active zone with a sand cushion | Never found on the clay directly; keep rainwater away from footings with wide plinth protection |
| Filled-up or reclaimed land | New layouts around Bhubaneswar, Cuttack ring road, Rourkela expansions | Depends on fill depth: deeper footings, raft or short piles | Insist on a soil test; fill compaction is rarely trustworthy |
The plinth beam is non-negotiable on every MoGhara house regardless of soil. It ties the columns, resists differential settlement and gives the brickwork a clean, level, damp-proofed start.
Stage 5: Plinth, RCC frame and roof slabs
After footings and columns up to plinth, we fill the plinth in 150 mm layers with compaction and lay a PCC bed before the flooring. Anti-termite chemical treatment goes into the fill and around the plinth perimeter at this point; the termite pressure in Odisha's red and laterite soils is severe enough that we treat every house.
RCC checkpoints we photograph on every pour
- Bar diameter, spacing and lap length against the drawing
- Cover blocks in place (25 mm slab, 40 mm beams and columns, 50 mm in coastal footings)
- Shuttering line, level and props, with no oil on reinforcement
- Cube samples taken from the pour for 7-day and 28-day testing
- Slump check, especially for ready-mix concrete arriving from Bhubaneswar or Cuttack plants
For cyclone-exposed sites we add roof-level detailing learned the hard way in 2019: a continuous RCC band at lintel and roof, parapet reinforcement tied into the slab, and anchor provisions for any future metal shade structure. The elevation ideas in our elevation design guide assume this structural backbone.
Stage 6: Curing in Odisha heat and building around the monsoon
Concrete gains strength by staying wet, and Odisha's April–June air will pull that water out within hours. Our rule is simple: ponding on slabs from the next morning for a minimum of 14 days, wet hessian on columns and beams, and pours started before 7 am or after 4 pm in peak summer. In Sambalpur and Rourkela we have cast slabs at night under floodlights when the day temperature crossed 44°C.
A monsoon-aware calendar
| Months | Best used for | Avoid |
|---|---|---|
| October – February | Excavation, foundations, plinth, columns | Nothing; this is the golden window |
| March – May | Beams, slabs, brickwork, with aggressive curing | Afternoon pours |
| June – September | Internal plaster, flooring, electrical, plumbing, carpentry under a completed roof | Foundations in waterlogged pits, external plaster and painting |
Get the roof over the house before the rains and the monsoon stops being an enemy: it becomes free curing for plaster and a shaded period for indoor trades.
Stage 7: Masonry, services and finishing in the right order
Once the frame is up, sequence matters more than speed. Brickwork with proper raking of joints, then electrical conduits and plumbing lines chased or laid before plaster (never after), then internal plaster, then waterproofing of bathrooms and terrace with a 48-hour ponding test, then flooring, then doors and windows, then putty and paint. Pulling a trade forward to show progress almost always means a wall gets cut later.
This is the stage where a design-build team pays for itself. Because our interior designers have already fixed the electrical and plumbing points around the wardrobe, kitchen and TV wall, the mason leaves the right niches and the electrician drops the right conduits the first time.
Stage 8: Quality checkpoints and handover
Before we hand over keys we walk the house with the family and a checklist: floor levels and hollow-tile tapping, door and window operation, every tap and flush under pressure, drainage slope with a bucket test, each switch and socket with a tester, terrace drain flow, and earthing resistance. We hand over the approved drawings, as-built service drawings, warranty cards and the contact for our 1-year service warranty. Then we ask you to live in the house for a month and call us with the small things; a well-built house still has a few.
If you would like this sequence run by one accountable team from soil test to keys, that is what our home construction service in Odisha is built to do.
Key takeaways
- Start with a soil test and survey; foundation type in Odisha depends heavily on coastal, laterite, black cotton or filled soil.
- Never excavate before approval; SUJOG-based approvals can take weeks to months.
- A plinth beam, proper cover to steel and anti-termite treatment are standard on every house.
- Cure for at least 14 days and pour early morning or evening in summer; schedule foundations for October–February and roof slabs before June.
- Lay conduits and plumbing before plaster and finish trades in strict sequence to avoid cutting finished walls.
- Handover should include a full functional check, as-built drawings and a written warranty.
Frequently asked questions
How long does it take to build a G+1 house in Odisha?
Indicatively 10 to 14 months from excavation to handover for a 2,000 to 2,500 sq ft house, assuming approvals are done and the roof is cast before the monsoon.
Is a soil test really needed for a small house?
Yes, especially on the coast, on black cotton soil and on filled land. It costs a fraction of one percent of the project and decides the foundation type.
Which foundation works on black cotton soil in western Odisha?
Usually under-reamed piles with grade beams or footings taken below the active clay zone with a sand cushion, always with a plinth beam and wide plinth protection.
Can construction continue during the monsoon in Odisha?
Indoor work can, provided the roof slab is done. Foundations, external plaster and painting should wait for dry weather.
How many days should a slab be cured?
A minimum of 14 days of continuous wet curing for slabs and beams, extended in peak summer; ponding is the most reliable method.
When should electrical and plumbing be planned?
Before plaster, ideally at the drawing stage with the interior layout, so that conduits, niches and drain positions are built in rather than cut in.
Talk to MoGhara about your project in Odisha
Planning to build in Odisha this year? Send MoGhara your plot details and we will map out a soil-to-handover schedule that works with the monsoon, not against it.